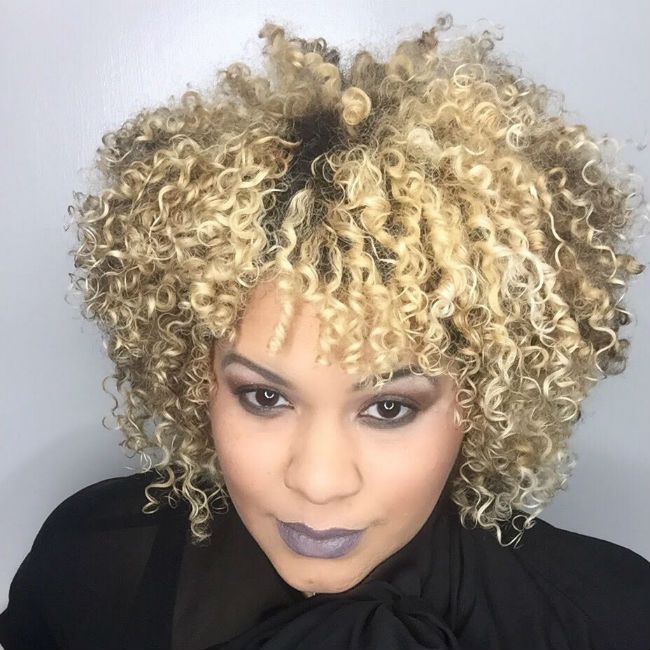
#CurlBoss Isabella is an Artistic Director and true visionary in the textured hair industry. Every time I see her, those curls are always on point. She recently shared with me her unique hack for defined, frizz-free hair that lasts all day long. Here’s what this method does for curly and coily hair:
- prevents frizz
- little to no curl breakage
- seal in the moisture by locking in moisture
- smooths the curls
- distributes product evenly
- lesser amounts products are used
- doesn’t allow your hands to create unnecessary heat (this can change the structure of the gel”>
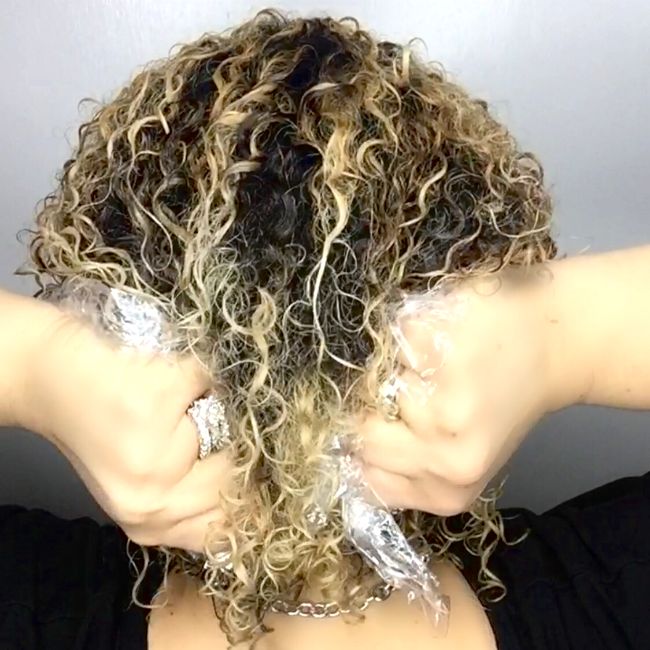
My frizz fighting weapon of choice: saran wrap.
As I was evolving with the process, there were different ways I started to try this out.
This works best for type 3 curls
1. Detangle your curls and shake them into place.
2. Divide a piece of plastic wrap in 2 (they should be about an inch bigger than your hands; this is good for grip purposes”>.
4. Lay the plastic flat on either left or right hand and put gel on that hand.
5. Lay the second piece of plastic on the other hand.
6. Rub gel over hands gently together as if it were lotion, covering both pieces of plastic.
7. Glide onto your curls, section by section.
8. Do not remove the plastic just yet–take more gel and squeeze the hair to ensure curl formation.
10. Remove plastic and let the hair either air dry or diffuse.
This works best for type 4 coils
1. With gloves on your hands, apply conditioner to wet hair.
2. Finger detangle while using gloves (this helps in preventing breakage while finger detangling.
3. Apply product on the gloves, section by section; rub together as if it were lotion (this will help with creating a smoother frizz free curl separation”>.
4. Apply an oil on the gloves and gently squeeze your hair.
5. Remove gloves and let the hair either air dry or diffuse (if using this method to create a protective style, apply foundation products with gloves. Once the hair has dried, take 2 pieces of plastic wrap and apply or spray a shine product on them and glide the pieces through your hair”>.
Follow Isabella on Instagram @curlpop_n_hair and visit her blog curlpopnhair.com


