We recently published an article on the curly hair concern our readers refer to as triangle hair, mushroom head, Christmas tree head, and perhaps most commonly, pyramid head.
Curly hair specialists weighed in on the importance of a flattering cut from an experienced stylist to combat this common shape. But beyond the cut, there are a few tricks that curly hair specialists use to prevent pyramid head. Ultimately, we are trying to avoid two common tendencies that curly girls have:
- flatness at the roots and
- excessive volume at the ends
These two looks combined create the triangle shape that many curlies are trying to avoid. I do want to note that this shape is not inherently bad, it can look fabulous! Curly hair stylist Isabella Vazquez loves this silhouette because she says “opening the curls at a starting point of the eyes will accentuate and draw attention to the eyes, cheeks and lips.” But if you prefer more lift at the roots and less weight at the ends, try these expert styling tricks.
1. Clip the roots
Shari Harbinger, Vice President of Education at DevaCurl, recommends using clips at the roots to create lift, “keeping the hair from weighing down on itself.” To clip your roots “take two fingers and lift one family of curls and place the clip as close to — or on — the scalp, east to west.” Use a minimum of six clips, and for best results use 10. For your best results, try not to touch your hair during the drying process. I know that’s easier said than done, so for a full guide to clipping check out curly hair stylist Brianne Prince of Brianne Prince Salon‘s step by step tutorial, complete with a handy name that will make easier to recreate, “O Clipping.”
2. Rake & shake
Ouidad, owner of New York’s Ouidad Salon, the Curl Education Center, recommends that you “style it from the bottom, with our ‘shake and rake’ method. With gel in your palm, rub your hands together and grab your hair in sections from the root, sliding your fingers through the end to recreate the curl pattern. If you do that in steps all the way to the top, you’re setting your curl pattern. Then, take duck clips, put them on their side, and slide them on your scalp to lift the root up and allow the curls to cascade down.” NaturallyCurly contributor Rocio Mora filmed how she uses the Rake and Shake method for defined, touchable curls, you can watch her full tutorial here.
3. Section to style
Christo, global artistic director of New York’s Christo Fifth Avenue salon says “The bottom layer of your hair will expand, even with a good haircut, if you’re not styling it properly. Invest the five to 10 minutes it takes to section the hair and apply your products correctly, so you won’t have to worry about frizz or pyramids.” This tip holds true for every hair type, from loose and wavy to tight and coily, no matter your hair length. Here is our Branded Content Editor Gerilyn sectioning her TWA into “tiny, tiny, tiny puffs” in her article “Yes, You Can Section a TWA in 3 Easy Steps.”
We don’t all have easy access to curly hair stylists in the areas we live in, so if you are in between haircuts, or if you have had the misfortune of getting a bad haircut, Christo recommends that you “make sure your hair is styled well, then you can pin some of your curls back with bobby pins. It will add lift to the root area so you can fake a haircut.”
4. Bun while drying
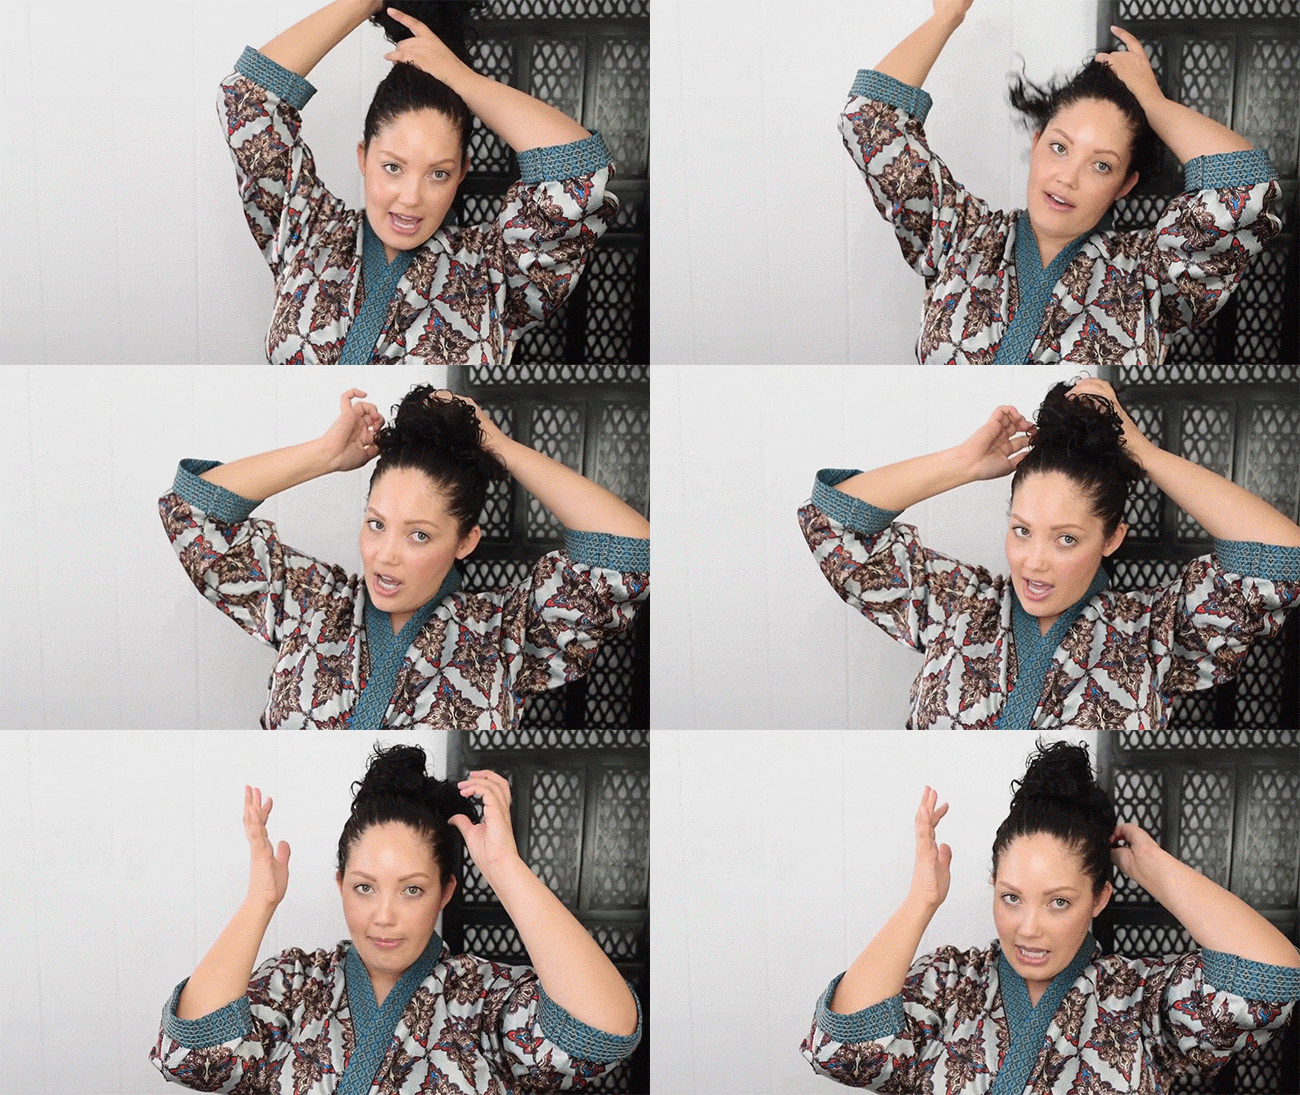
Fashion blogger Tanesha Awasthi has an envy-inducing wardrobe and a gorgeous head of curls to match. She has a game-changing trick for air drying that anyone can master: air drying in a top knot. After applying her styling product, she air dries it in a loose top knot until it is 50% dry, then she takes it down to air dry the rest of the way. For a full tutorial from cleansing to the finished look, watch Tanesha’s tutorial here.
5. Plopping
Plopping is a tried and true technique that was born right here on our NaturallyCurly forums. It is similar to a towel turban that many of us learned at a young age, but instead of using a terry cloth towel we use a t-shirt or microfiber towel. This prevents frizz, blots out extra moisture, and gives hair the opportunity to dry without being pulled down by wet hair. To plop, flip your head forward into your t-shirt or towel and tie it in a knot around your head. We created step by step tutorials for both the towel and the t-shirt method here.
6. Curl kebabs
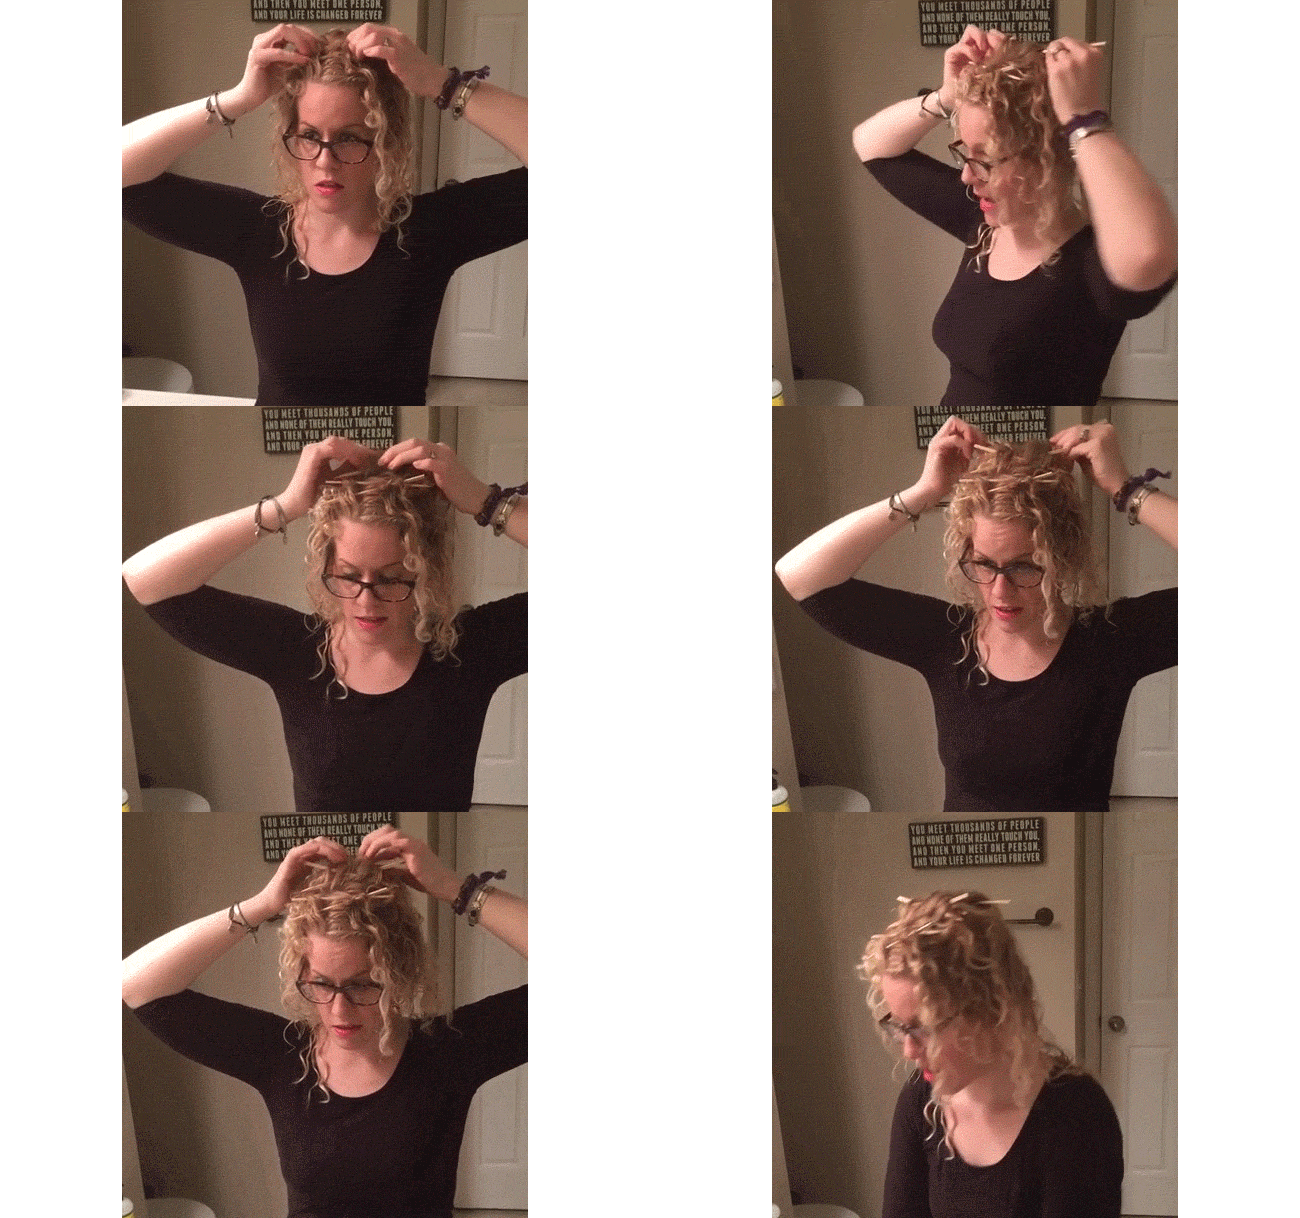
When clipping became difficult for Breanne Prince due to a limited range of motion, she invented a new gravity-defying technique: curl kebabs. For this technique, Breanne recommends using anything that’s long, thin, and not blunt at the ends so as not to disturb the curl pattern. Kebab skewers, pencils, chopsticks, rattail combs, or anything you have in this shape will work. Slide the skewers towards each other to lift the curls up at the roots and allow them to dry this way, then slide them out when your hair is dry. This may be easier for some to master than the clipping is – it’s all about finding a method that works for you. Watch Breanne’s full video tutorial here.
7. Diffusing upside down
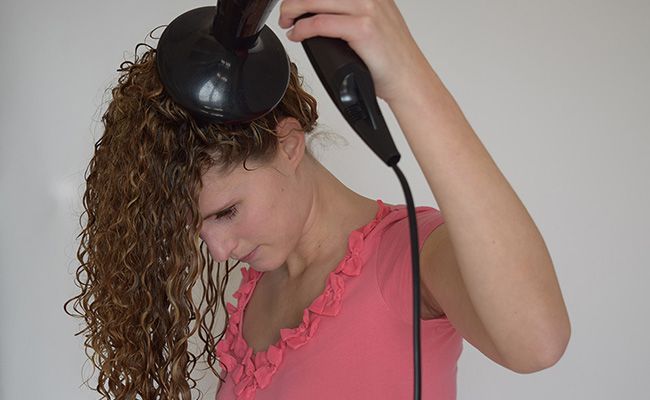
Diffusing is a major time saver for curlies who don’t have time to wait for their hair to air dry fully. Not only do diffusers speed up your drying time, they also create volume. If you’re pressed for time or find that your hair dries flat to your head, make sure you focus your diffuser at the roots to create lift there. To prevent frizz, NaturallyCurly contributor Sandra recommends that you “don’t move your drier whenever it’s turned on. Always turn it off before you move to diffuse another section of your curls.” Watch her routine for getting her curls to clump here.
Have you dealt with Christmas tree head?
What’s next?
A good routine and a flattering cut can make all the difference, just look at these 15 Curly Hair Transformations You Have to See to Believe.
Haven’t found a curl stylist yet? Look for these 6 Signs a Stylist Knows How to Cut Curly Hair.
In a hair rut? Follow us on Instagram @NaturallyCurly and stylist @EvanJosephSalon (whose work is pictured above”> for inspiration.
Like what you see? For more articles like this, sign up for our newsletter!


