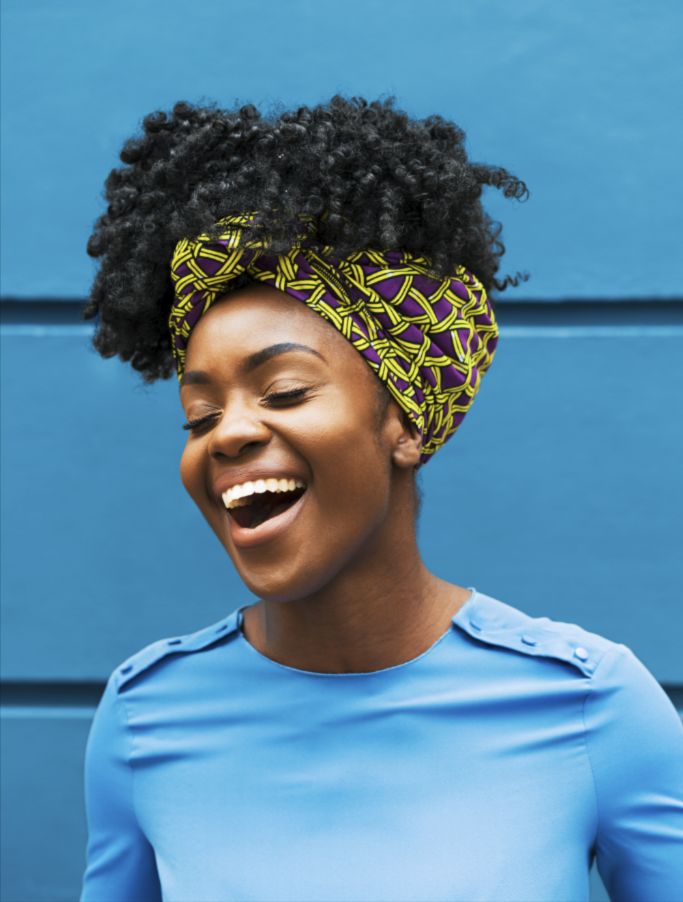
Naturally curly hair is completely versatile when it comes to styling! I created this soft retro curl updo to temporarily loosen my texture without any heat damage, with the help of some Curlformers.
Before you start
To begin, I apply a bit of Kinky Curly Knot Today Leave-In as a base to clean, damp hair. It helps get rid of tangles which is extremely helpful when installing curlformers. After raking that all in my hair, I followed with a lightweight styling product. I used SheaMoisture’s Frizz Free Curl Mousse because it helps fight frizz while giving flexible hold without the flaking. When using curlformers, you want your hair to be slightly damp so keeping a spray bottle mixed with water and leave-in conditioner on hand is helpful to spritz any areas that are prone to drying quickly.
How to use Curlformers
- Section some hair from the back of your head and tie the rest up to stay out of the way.
- Insert the rod that comes with the Curlformers through one end and push it all the way through until the hook is outside the other end of the Curlformer.
- Twist a small section of hair at the scalp.
- Place the hair into the wand’s hook, keeping the open side up.
- Pinch the rubber opening of the Curlformer and gently pull the wand and hair through.
- Repeat this step all around your head and let your hair dry 100% before removing the Curlformers.
- Once your hair is dry, pinch the rubber ends and gently slide the Curlformers off. This leaves your curls shiny bouncy and soft to the touch without using any heat!
[prodmod]
Styling
I added a few drops of jojoba oil to my fingertips and began to separate each curl. This added volume and gave my curls a more natural pattern. I then gathered a group of curls and gently combed through my hair with my fingertips. You can repeat the combing step until you have reached the volume desired.
After combing through my curls, I gather some hair from the side of my head and secured it back with a few bobby pins. If you have bangs, set those aside for later and repeat the previous step. Again, gather some hair from the other side of your head and secure it back with bobby pins.
Take your bangs and pull it in the opposite direction of your part. Begin rolling the tips around your finger towards the ceiling. Once you have rolled your hair a few times you can release your finger, pinch the curl and begin to roll towards your head.
Push down on the curl to create a retro swirl. You can secure the swirl with a few bobby pins at the back of the curl.
Smooth down fly aways or pin back any pieces that fell out of the swirl and the look is complete! You are left with soft retro curls with a swirl and curl bang!
Watch my tutorial
This post was not sponsored by Curlformers.

