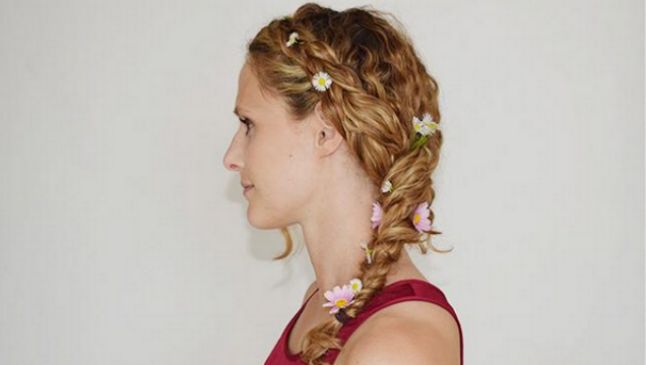
This year’s festival season has already started. Are you still looking for a cute festival hairstyle that works with your curls? In this article I will show you a hairstyle that not only looks good but also is perfect for withstanding warm weather and a lot of dancing. Side note: I promise, this hairstyle looks harder than it actually is! If you can’t Dutch braid that’s not at all a problem, you can also go for a French braid, which will create a similar look.
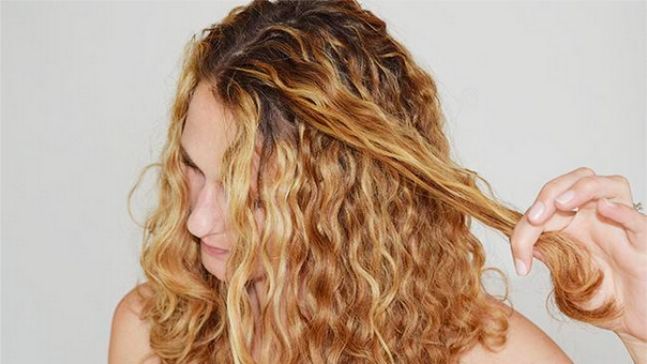
To make braiding easier, I strongly recommend that you first wash your curls, but not add any styling products to it. This way your curls are going to stay in the braids a lot better thus enabling this hairstyle to last longer! I’ve never thought it really made a difference until I tried it and I noticed a huge improvement in the way my curls behaved.
You will need
-
2 small hair ties
-
some bobby pins
-
(real”> flowers
Step-by-step tutorial
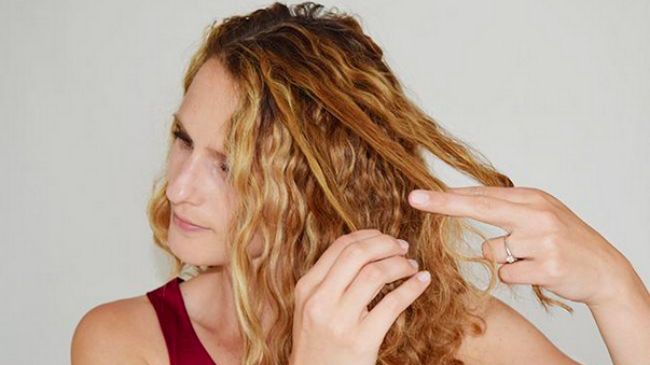
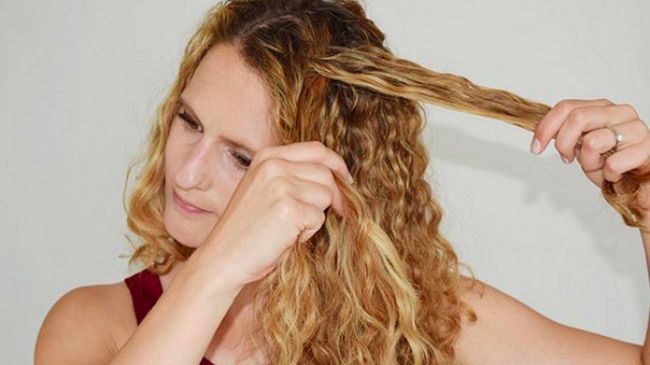
1. Take a small section of curls from the side of your parting line with more hair leaving out a small section at the front.
2. Split the chosen section into three smaller sections.
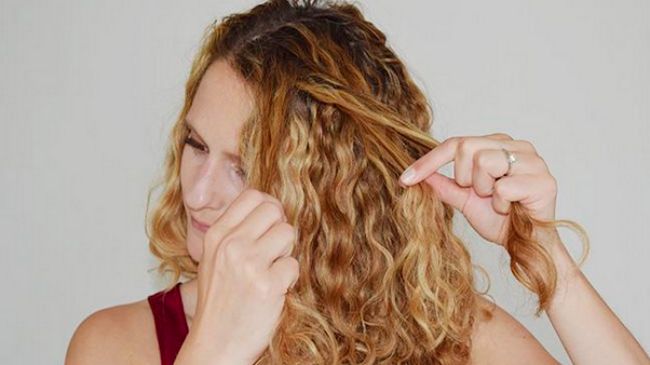
3. Start Dutch braiding by crossing the front section underneath the middle one.
4. Continue braiding by crossing the back section underneath the middle one.
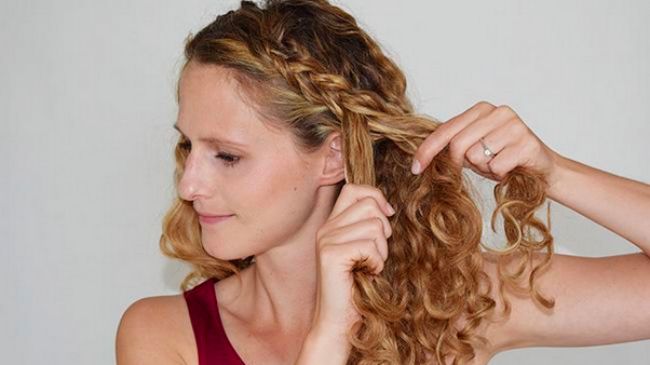
5. Now, start adding more curls to your braid by first adding the section you’ve left out in Step 1 (the one right at the front”> to the front section. Then cross the front section (now including the previously left out one”> underneath the middle section.
6. Continue to always add a little bit of hair when crossing a section underneath until your braid reaches your ear.
7. Then fix your Dutch braid with a small hair tie (I used a rubber one, which I later cut apart”>.
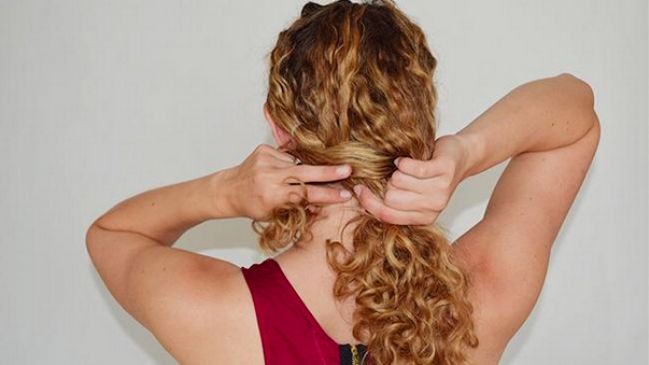
8. Now, part all of your curls into three section: To better know where each section ends, I like to put one to the right side of my face, the other one to the left side, and the third section consists of all the curls in the back.
9. Now start braiding the three sections by crossing the section opposite your Dutch braid underneath the middle section.
10. Then, cross the section with your Dutch braid in it underneath the middle one. Make sure your braid is quite tight (especially if you would like to add some flowers to the braid later on”>.
11. Continue braiding this way. As soon as you feel like it’s easier to braid with the braid in front, move it to the front and finish braiding it. Be careful: if you bring it to your front you’ll need to cross the sections across each other!
12. Secure the end of your braid with a hair tie.
13. Cut the hair tie you tied the Dutch braid with. Make sure all of your curls are secure in either one of the braids. If you feel like some of them are a bit loose, secure them with bobby pins to make sure your hairstyle holds up.
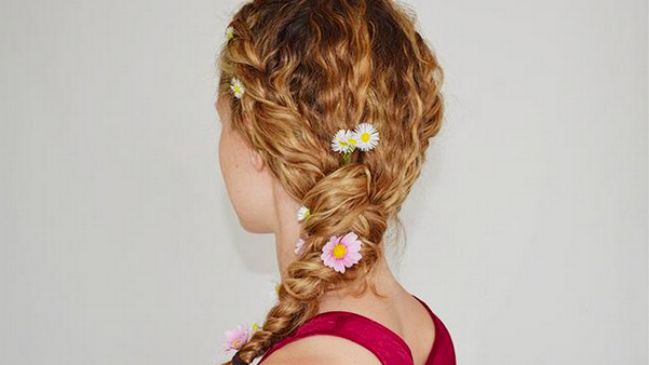
14. You could stop here, but since it’s a hairstyle for a festival, I suggest you add some flowers to it. Just cut a few nice flowers from your garden or a park, wildflowers work perfectly for this. Cut their stems short (about 1 inch”> and stick them into your braid. It’s easiest to place them in the braid where you crossed two sections.
Follow me on blog JustCurly.com for more curly hair tutorials.
