The holidays are upon us and many are worried about the cold, dry weather affecting their tresses, especially when we travel. Yes, travel is a bummer on our hair sometimes. Traveling with hair products can be an annoyance at best and a disaster at worst if there are damaged bottles and leaking product getting all over everything in your travel bag. You check to ensure the bottles are closed tightly or if you are like me, you buy new ones that are sealed so they do not spill, but the trip back is just as harrowing as you either have to toss it or hope they do not spill over everything. If I sound like an exaggerated infomercial then I am sorry but I have ruined a suitcase full of clothes with hair products so please empathize with me.
With the holidays approaching many wavies, curlies, and coilies will be traveling near and far in cars, trains, and airplanes. Traveling requires packing, and packing requires finding better ways to transport our toiletries including hair care products. It is a necessary hassle that can make or break your family gathering and photos, so why not de-stress by trying something new?
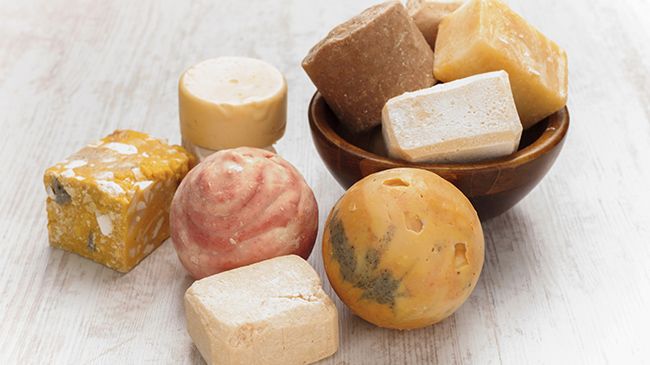
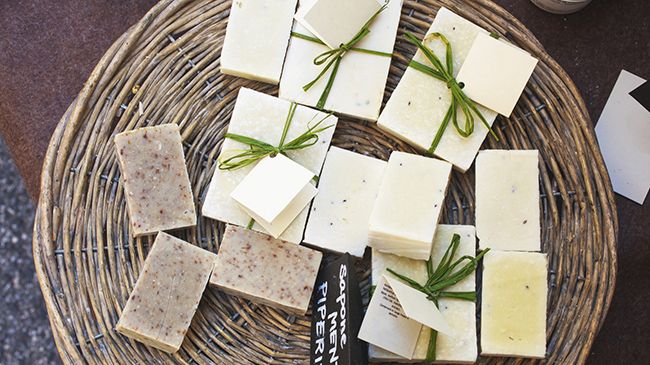
Shampoo, conditioner, moisturizer, and lotion bars are making it big around the DIY circuit and for good reason. All natural shampoo bars are all the rage in the beauty markets. Curl Chemist says, “The polar head group of the molecule is a carboxylate, rather than a sulfate (R-COO-Na+ vs. R-OSO3-Na+”>, which results in a milder surfactant. They are formed by reacting a fat (triglyceride”> with a strong base, either sodium hydroxide (lye”> or potassium hydroxide (potash”>, in a process called saponification.”
Here are great perks to using these bars over their liquid cousins:
- Less wasteful
- Less expensive
- No leak, no mess
- Smaller
Ginger and Lime Shampoo Bar
Ingredients and Tools
- 7.2 oz. apricot kernel oil
- 7.2 oz. argan oil
- 10.8 oz. babassu oil
- 7.2 oz. refined & deodorized cocoa butter
- 11.52 oz. refined 76°F melt point coconut oil
- 3.6 oz. sweet almond oil
- 7.2 oz. clear/refined jojoba oil
- 10.8 oz. olive pomace oil
- 3.6 oz. refined & deodorized shea butter
- 2.88 oz. rosehip (seed”> oil
- 24.8 oz. distilled water
- 9.5 oz. lye/sodium hydroxide
- 2 oz. silk amino acids powder
- 3 Tbsp French green clay
- 4.5 oz. fresh ginger lime fragrance oil, or scent of choice
- double boiler pot
- spoon
- silicone soap molds
Instructions
- Pour the lye into the distilled water, mixing until dissolved and then set aside to cool.
- Combine the oils and butter in a large stainless steel pot.
- Heat over medium heat on the stove until all of the ingredients have melted and then remove from heat and set aside to cool.
- Pour the lye and water mixture into the oils and mix with a spoon until you reach a light trace.
- Add the fragrance oil along with the silk amino acids powder and French green clay and mix.
- Pour into soap molds and cover.
- Allow the bars to set for 24 hrs and then remove.
Homemade Moisturizer Bars
Ingredients and Tools
- 1oz beeswax
- 1oz hard butter
- 1oz liquid oil
- 1/4 tsp fragrance or essential oil
- 1/4 tsp vitamin E
- spoon
- double boiler pot
- silicone soap molds
Directions
- Place the beeswax, butter, and oil into a double boiler until melted.
- Remove the bowl from the heat and cool slightly. You do not want it to completely solidify yet.
- Mix in the vitamin E or fragrance and pour into molds and allow it to set.
- Transfer to the refrigerator or freezer until solid.
Where is the conditioner bar recipe? Do not worry. We have you covered on How to Make Your Own Conditioner Bar.
Homemade moisturizer bars are almost impossible to get wrong. If for some reason you do not like the way they look, feel, or smell, you can melt them down again. Are the bars to hard? Add more oil or butter. Too soft? Add more beeswax. Not fragrant enough? Melt it down and add a little more fragrance. Do be cautious with the temperature essential oils can be heat sensitive, so melt them lightly. Now that you see the benefits of carrying these amazing bars in your suitcases, it is now time to share how to create them!
Do you use solid products when you travel?


