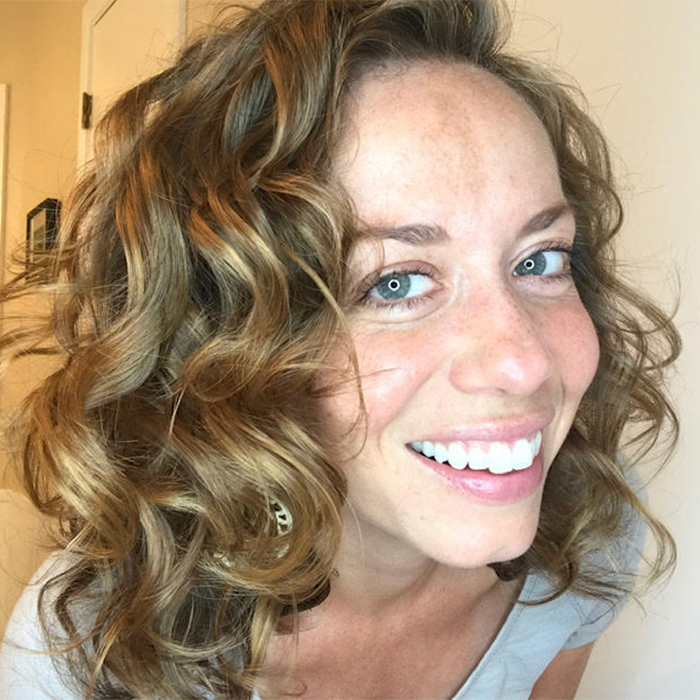
Image:@reallifecurlygirl
Attention, 2As. ATTENTION, 2As! You with the flat crown and “swavy” hair. Don’t be discouraged. Fellow 2A here with encouraging news to report: You can create volume and curl at your crown with the rainbow clipping technique.
Fellow 2A here with encouraging news to report: You can create volume and curl at your crown with the rainbow clipping technique.
CurlTalk member Katherinejane76 discovered the rainbow clipping technique in a YouTube video made by Kristy, salon director of Uptown Curl in Minneapolis, MN.
After washing her fellow stylist Lauren’s hair, Kristy flips the wet hair forward and applies DevaCurl B’Leave In Curl Boost and Volumizer. “Less is really more,” she advises, as she applies a dime-sized amount of the product from roots to ends in a several scrunches. For a longer-lasting hold, Kristy adds DevaCurl Frizz-Free Volumizing Foam after in another round of scrunching. She’s careful not to rake through the hair and pull the curl out. Time to dry.
While Kristy uses a microfiber towel to carefully blot the hair of its excess water, she drops some knowledge: “It’s really important with swavy hair that you blot the root. You don’t want there to be too much water weight left behind at the root, because it’s going to cause it to be heavy and end up with a lot of drag at the scalp.” No kidding!
Kristy moves on to working with a set of DevaCurl DevaClips (the DevaClips have been discontinued but you can try these Curly Girl Root Clips“>. She slides a few closely along Lauren’s scalp to encourage volume as the hair dries. “The important thing when you’re applying these,” she notes. “Is that you feel it along your scalp.” The clips need to be flush with the scalp, so they won’t float or flip over. In the tutorial, Kristy uses four clips from the front to the back of Lauren’s head. Then it’s time for the highly anticipated technique, “specifically for swavy hair.”
How to Rainbow Clip Your Roots for More Volume
- Pinch about an inch of hair and hold it in the shape of an arc with your fingers.
- With your other hand, open a clip slightly and slide it into that section of hair.
- Note: Rather than going flush with the scalp, aim for the center of the hair arc.
- Repeat around your hair crown to create as much of a wave pattern as desired.
Don’t worry about being precise with your arcs. Kristy encourages that it’s ideal for them to look a little bit messy.
Diffuse for Added Volume
Time to diffuse your rainbow arcs and the rest of your hair. Make sure you’re using a cup or basket attachment, and that you have the dryer set on low speed and heat. When the hair is about 75 percent dry, remove the clips and complete the diffusing upside down.
When the hair is completely dry, Kristy applies a small amount of Innersense Inner Peace Whipped Cream Texturizer for extra volume at the root and definition. Kristy finishes the look with a few spritzes of DevaCurl Flexible-Hold Hair Spray.
In final words of encouragement to 2A viewers, Kristy says, “It is totally possible to have volume and curl and maximize what you have when you have swavy hair.”
CurlTalk members have found that even if your wavy hair is thicker, this technique can still be really useful for giving you the crown volume you’re looking for.
Overall, CurlTalk members were pleased with their rainbow clipping results.
Therese1 said, “I’ve tried this a couple of times now, and I got good results both times. I’ve always had problems diffusing upside down, because it does weird things to my roots. Clipping and diffusing the clipped areas first eliminates the wonky roots. And removing the clips before the final diffusing helps eliminate indentation marks in my hair. Great video.”
Have you heard of the rainbow clipping technique before? If you’ve tried it, let us know how it works for you in the comments below.
This article has been updated with additional resources and new product links.
