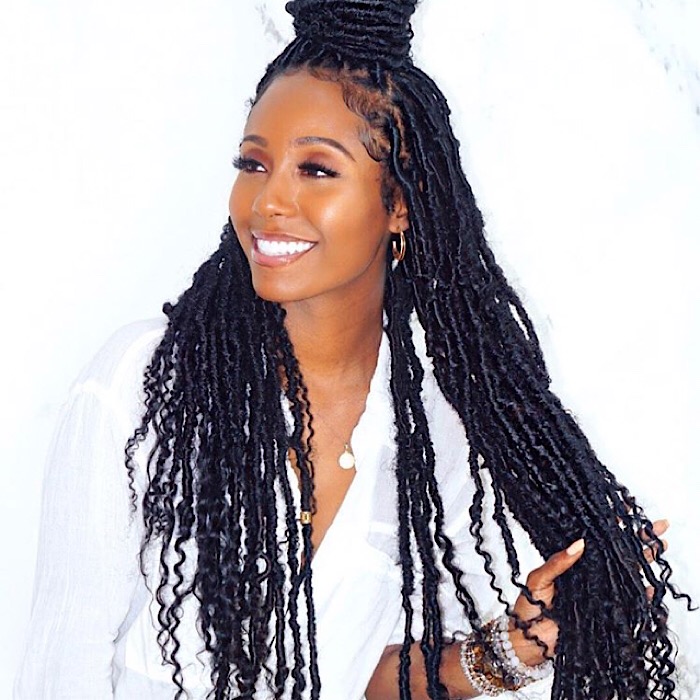
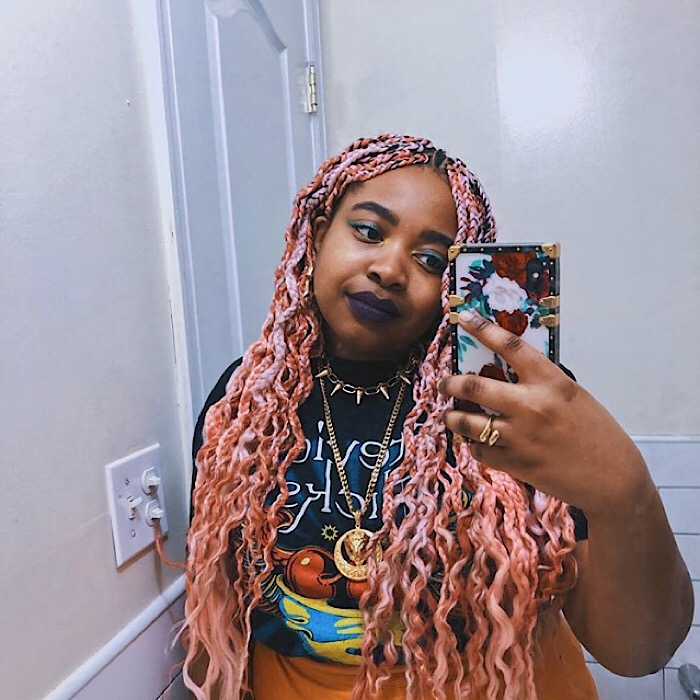
Curl-friend, it’s officially summer, and officially time to put your hair in a protective style so you don’t have to think about it while you deal with temperatures that you can’t bring yourself to actually move in.

Image Source: @khatbrim
By which I mean, you’re going to be tubing, hiking, sweating, and festival-…ing, and having so much summer fun that you don’t want your top of head to be top of mind every time the humidity level shifts.
But between the sun, the surf, and the late nights where your extra-long bonnet just doesn’t make it on your head, your hair will still need another layer of protection while it’s in a state where you can’t touch it directly!
Yes, of course—maintenance is both possible and necessary through protective styles’ lifetimes, but we can’t pretend there aren’t going to be steps you’ll have to forgo post installation.
Try doing a deep conditioning mask when you have crochet braids in sometime, I dare you.
Just like you can’t go into your restorative, post-beach blanket-burrito without having snacks and a good movie cued up, it’s just as imperative that you protect your hair IN its protective braided style before anything gets installed.
Enter the sealing process.
The shaft of your hair is made out of scales!
You’re not exactly Medusa, but as it turns out, at the micro-level, hair, scales, and feathers all operate on very similar principles!

Image Source: @eviedoesla
The closer the scales are together, the less breakable your hair is. That’s why birds preen, lizards shed, and curlies seal!
But sealing isn’t just laying your cuticles down, although that’s part of it.
When your hair is damp, as it should be during maintenance, your little “shingles” surrounding each hair have tiny amounts of water running into them. The oil you seal with basically shuts the door before your hair can dry and the water can run back out!
And that’s what’s keeping your strands moist, elastic, healthy and happy!
Why is this so important for protective styles?
Simply put, your hair can and will break off within a braid or under a weave if it’s not protected beforehand.
And because you’re not taking microbraids out every night (can you imagine?”>, you won’t have the opportunity to course correct the coarseness until several weeks down the line, when it’s too late.
Think of each hair like a wooden fencepost.
If each plank is unfinished, and unsanded, the constant contact means snagging, snapping, and splintering. And while sanding by itself helps, it’s the finishing touches that keep the wood from warping with the elements and heading right back to splinter town.
But if you’ve treated the wood thoroughly, the smoothness on smoothness is less conducive to damage!
Then what’s the difference between sealing and moisturizing?
Toia B via Curly Nikki puts it best in this expository article, but the short version is: moisture is the water in the bottle, and sealing is the lid.
Have a water bottle without a lid on a hot day? Everything evaporates. The hair equivalent leaves each single shaft’s shingles (say that 10 times quickly”> raised, and open, and vulnerable!
Meanwhile, a bottle with a lid and nothing inside of it is just kinda…trash. Well, recycling, but you get my drift. If you’re putting a thick sealing oil on completely dry hair, your curls aren’t going to feel or be any better off. That’s why hot oil treatments are a PRE-wash thing.
Your hair needs both elements to thrive!

Image Source: @fatangryblackgirl
https://www.instagram.com/p/BvuVlI5geDe/
So how do I seal?
Section your damp, not wet, hair, and run a thick oil or butter from root to tip, after detangling.
That’s literally it!
If you’re a user of the LCO method like I am, guess what? You’re already doing it!
The O, for oil, is the last step in sealing moisture from the liquid and cream into your hair.
I prefer to lightly seal my hair post wash with a toussling of low-weight oil (more on this later”>, and then once my hair is dry enough to use creams on without me looking like I’ve had a horrible milk-related accident, I’ll use a heavier sealant after my leave-in.
The amount of oil you use will depend on your porosity level, and the oil you’re using. My hair’s got Blanche Devereaux porosity (ie, it’s always thirsty”>, so large amounts of thick oil work best for my coils.
And just what are these oils?
I’ve extolled the virtues of Sunny Isle’s JBCO Butter already, and I’m going to do it again here!
For my high porosity hair, I have yet to want to go elsewhere for a pre-protective style sealant. It’s also been great for sealing my new growth and the sections that slip past my braids with time!
After the protective style is in, an oil blend decanted into a spray bottle is mandatory for me post-wash. I like Reshma as a blend that’s thin enough for spraying, but thick enough for sealing!
If your hair isn’t as thirsty as mine is, I recommend Alikay’s Essential 17 for an alternative to the thickness that is JBCO.
So do you have the zeal to seal?
We all know we can’t step out with missed steps, right? But I know the 5 metric tons I like to spread through my coils won’t work for everyone.
Put your porosity level and what you seal with in the comments, and share & share alike!
